Installing UFT
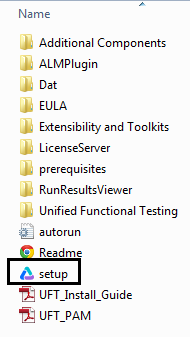
After downloading UFT from HP site, You will see the folder structure as shown below. Double click on SetUp file.
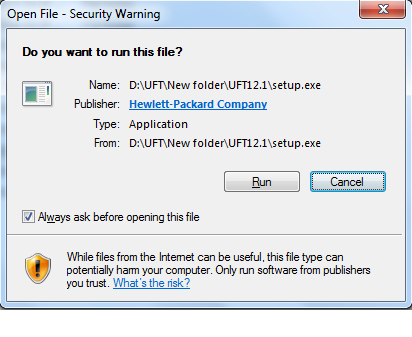
It may security warning window,click on Run button.
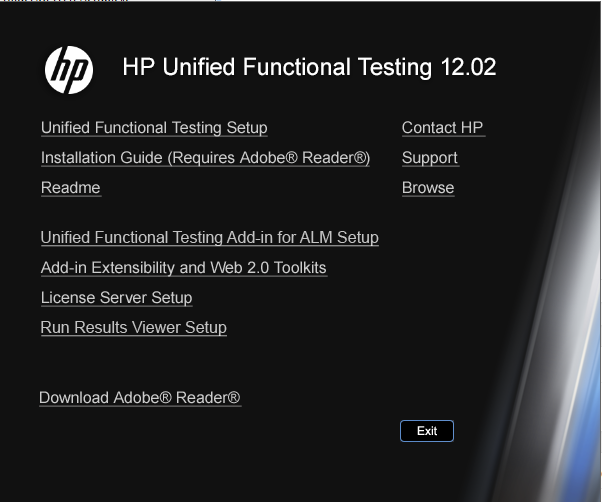
You will get the window as shown below.Click on the First link ‘Unified Functional Testing Setup’.
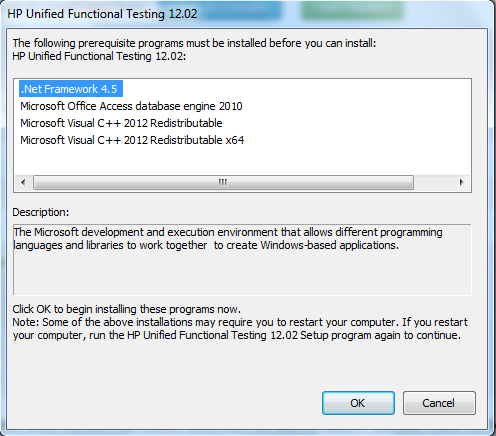
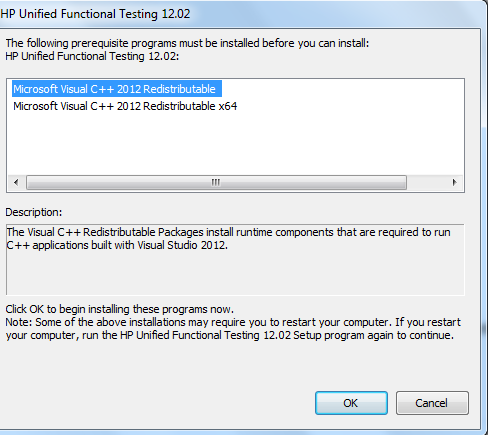
Next window will ask you to install some prerequisite programs. Click OK.
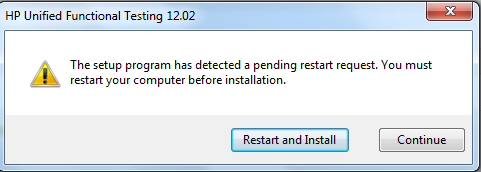
Let all the program installed. It may take some time depending on your computer and internet speed. After installing the prerequisite program, system may ask you to restart the computer as shown in the below screen. Click on Restart and Install.
After restarting the system, again you need to click on ‘SetUp’ file and click on First link ‘Unified Functional Testing Setup’ as done above in 3rd screen shot.
After that, again it will ask you to run the remaining prerequisite program. Click OK.
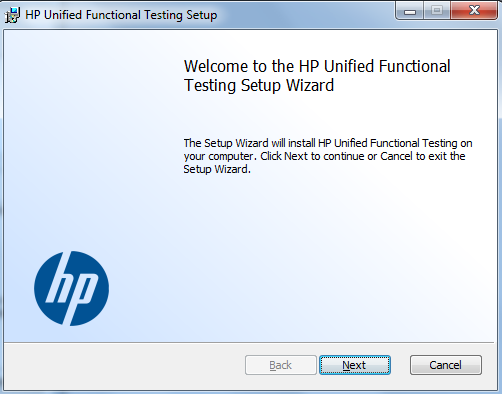
Next window will be ‘HP unified functional testing setup wizard’. Click next to continue.
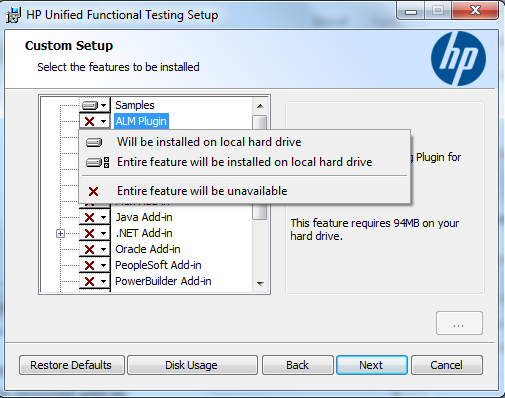
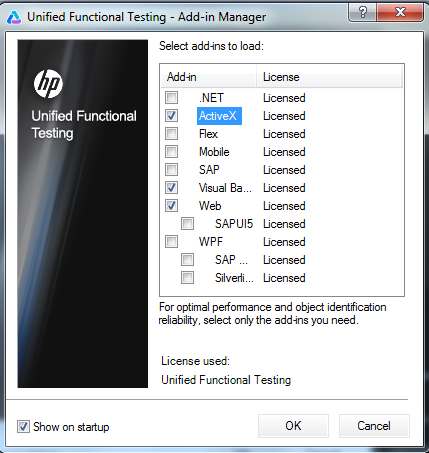
On next window, it will ask you to accept the agreement. Accept the agreement and click next. After agreement window, It will give you a window where you need to select the required add-in. Click on any add-in ,it will give you the option to select entire feature installation or if you don’t select any particular add-in that will not be installed. But if you wish to install that add-in later in future , then you can open setup file in repair mode and install desired add-in.
It gives the by default add-in as Web, Visual Basic and Active x.
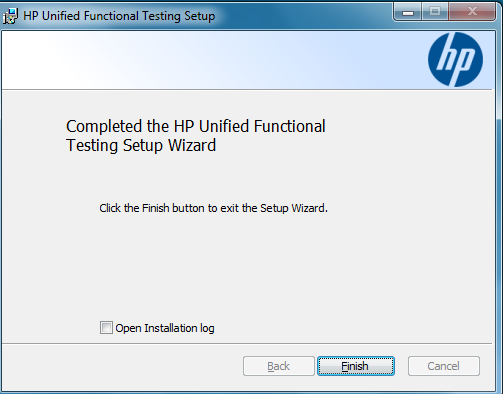
On next window, without changing any settings you may click on install button. After installation is over, you will get the below window.Click on Finish button.
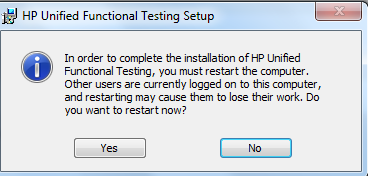
At last you will be asked to restart the system. Restart it.
We are done with installation. Now, you can open UFT from Start menu or from shortcut created on desktop.
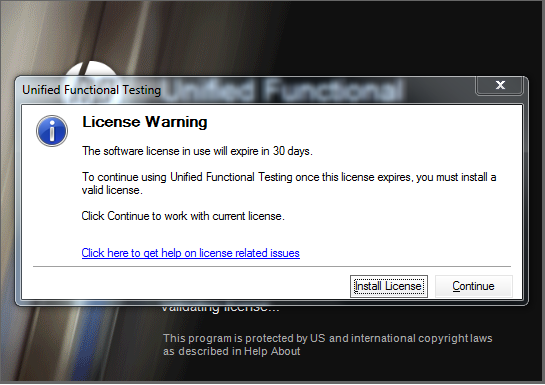
You will get the message pop up where you have 2 options. One is to ‘install licence’ (click if you want to provide the license) and another is to continue (You can enjoy 30 days free trial.)
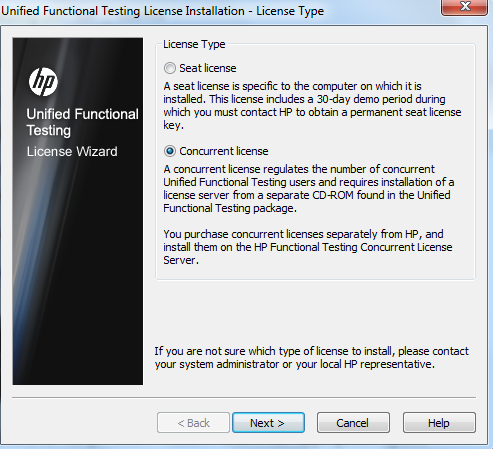
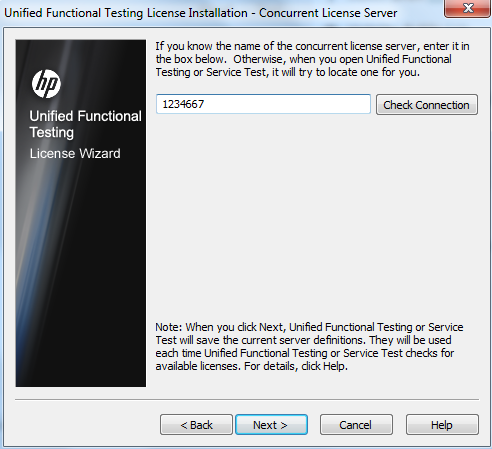
If you choose to install license, then you will get below window. Select the appropriate option ‘Concurrent license’ or ‘Seat license’. In our case,we have selected concurrent license option and click Next. On the next window, provide license details and check connection. If it works fine then click next and finish.
Finally, you will see the add-in manager window. Where it will give you the options to select the required add-ins.
Happy learning!!