Writing First Program with TestNG
In the previous post, we have learnt about TestNG annotations. In this Post, we will be writing First Program with TestNG.
Prerequisite: TestNG should be installed with Eclipse as shown in this post.
Let’s understand this step by step.
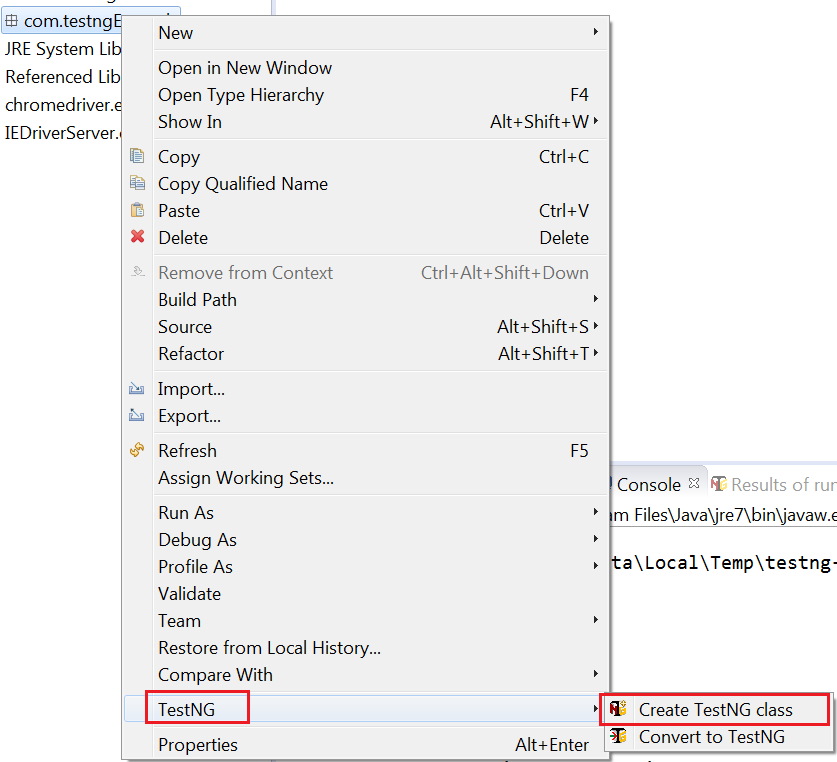
Step#1 In Eclipse, go to the your package –> TestNG –> Create TestNG Class.
Step#2 Next window will come with annotations where you can select required annotations. We have selected @BeforeMethod, @AfterMethod and given a class name as “FirstTest”.
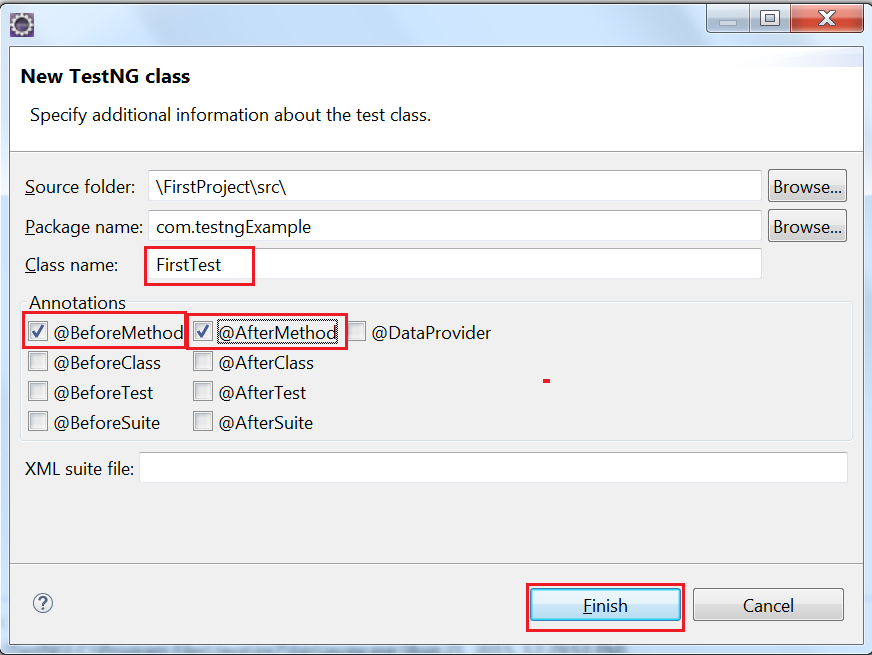
Step#3 Click Finish. The class will be created with the selected annotation. Look at the code below. One good point to observe here is that, there is one annotation @Test, which is added automatically with the method name as f().
public class FirstTest {
  @Test
  public void f() {
  }
  @BeforeMethod
  public void beforeMethod() {
  }

  @AfterMethod
  public void afterMethod() {
  }

}
You can change the method names according to your requirements.
Step#4 We have changed the method names as given below. These method will perform according to the annotations set for them. As an example @BeforeMethod will be executed before all the methods in the class. @AfterMethod will be executed after all the methods in the class. @Test will be executed as part of test case.
For better understanding, we have given simple print statement. So, It will be easy for you to understand their working.
public class FirstTest {

  @Test
  public void driveCar() {
	  System.out.println("Drive the car");
  }

  @BeforeMethod
  public void startCar() {
	  System.out.println("Start the car");
  }

  @AfterMethod
  public void stopCar() {
	  System.out.println("Stop the car");
  }

}
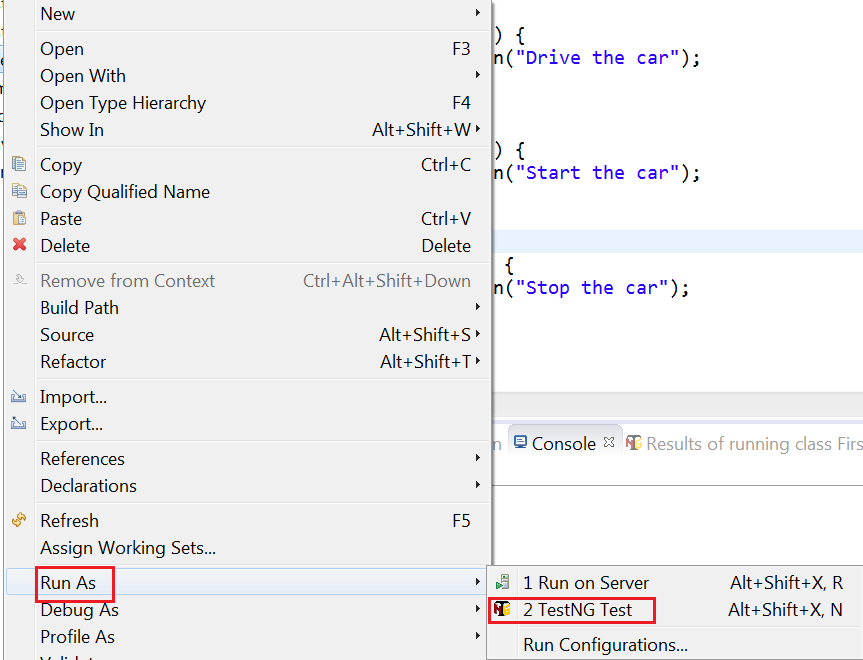
How to run TestNg class?
Right Click on the Class –> Run As –> TestNG Test.
Output:
Drive the car
Stop the car
As you can observe the output, first @BeforeMethod is executed, then @Test method, and in last @AfterMethod. So, in this way you can use the annotations.
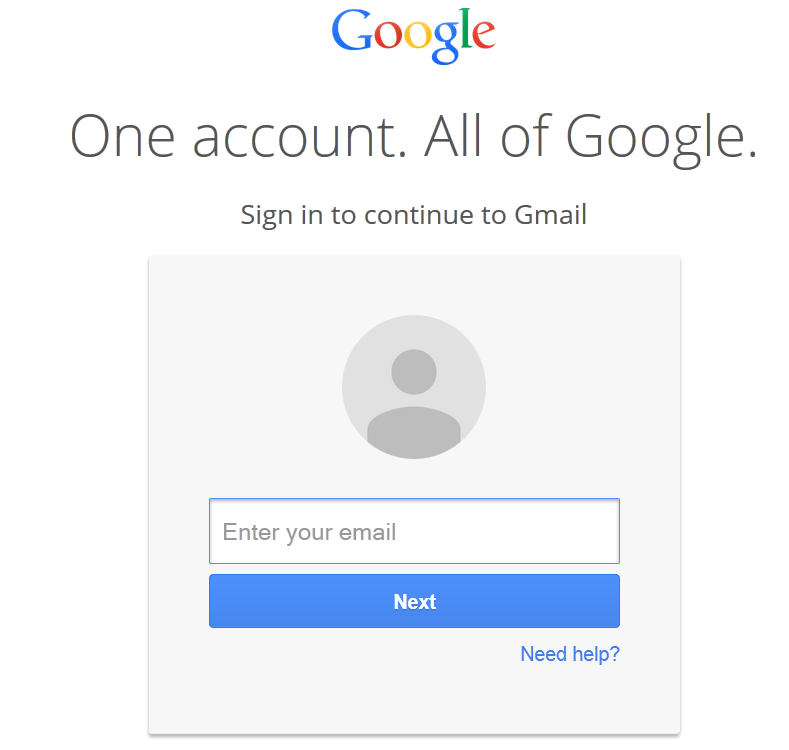
Now, let’s see some practical implementation with an example. We will take Gmail Application as our demo AUT and perform Login functionality.
- @BeforeMethod: Method will contain driver initialization code.
- @AfterMethod: Clean up code like closing the driver after execution.
- @Test: Gmail Login code.
Program for Gmail Login using TestNG:
import org.testng.annotations.Test;
import org.testng.annotations.BeforeMethod;

import java.util.concurrent.TimeUnit;

import org.openqa.selenium.By;
import org.openqa.selenium.WebDriver;
import org.openqa.selenium.firefox.FirefoxDriver;
import org.testng.annotations.AfterMethod;

public class FirstTest {
	public WebDriver driver;

  @Test
  public void Login() {
	  System.out.println("Login into Gmail");
	  //Enter username
	  driver.findElement(By.id("Email")).sendKeys("[email protected]");
	  //Click Next button
	  driver.findElement(By.id("next")).click();
	  //Enter password
	  driver.findElement(By.id("Passwd")).sendKeys("Pas@123");
	  //Click SignIN
	  driver.findElement(By.id("signIn")).click();
  }

  @BeforeMethod
  public void startCar() {
	  System.out.println("Intializing FirefoxDriver");
	  driver = new FirefoxDriver();
	  //setting 30 seconds implicit wait
	  driver.manage().timeouts().implicitlyWait(30, TimeUnit.SECONDS);
	  driver.manage().window().maximize();
	  //Open Gmail
	  driver.get("https://accounts.google.com/");
  }

  @AfterMethod
  public void stopCar() {
	  //Close the browser
	  System.out.println("Close the browser");
	  driver.quit();
  }

}
Output:
Login into Gmail
Close the browser
PASSED: Login
===============================================
Default test
Tests run: 1, Failures: 0, Skips: 0
=============================================== ===============================================
Default suite
Total tests run: 1, Failures: 0, Skips: 0 ===============================================