Installation of TestNG
In the previous post, we have seen what is TestNG and its important features. In this post, we will learn to install TestNG.
Before installing TestNg, make sure you have active internet connection and eclipse IDE already installed at your System. Look at How to install Eclipse ,if you don’t have eclipse installed.
We will go step by step to see the installation of TestNG. It is easy to install TestNG , as it comes as a Eclipse Plug-in.

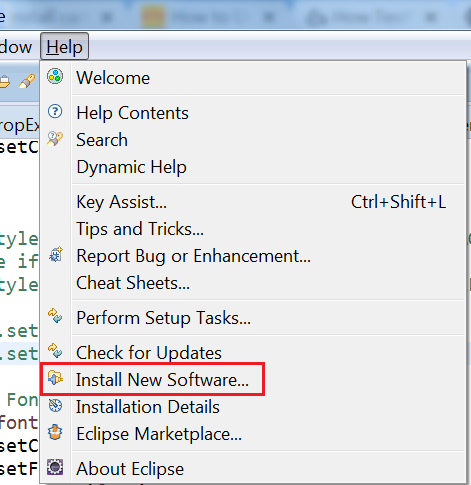
Step#1: Open Eclipse and Go to “Help” menu –> Select “Install New Software”.
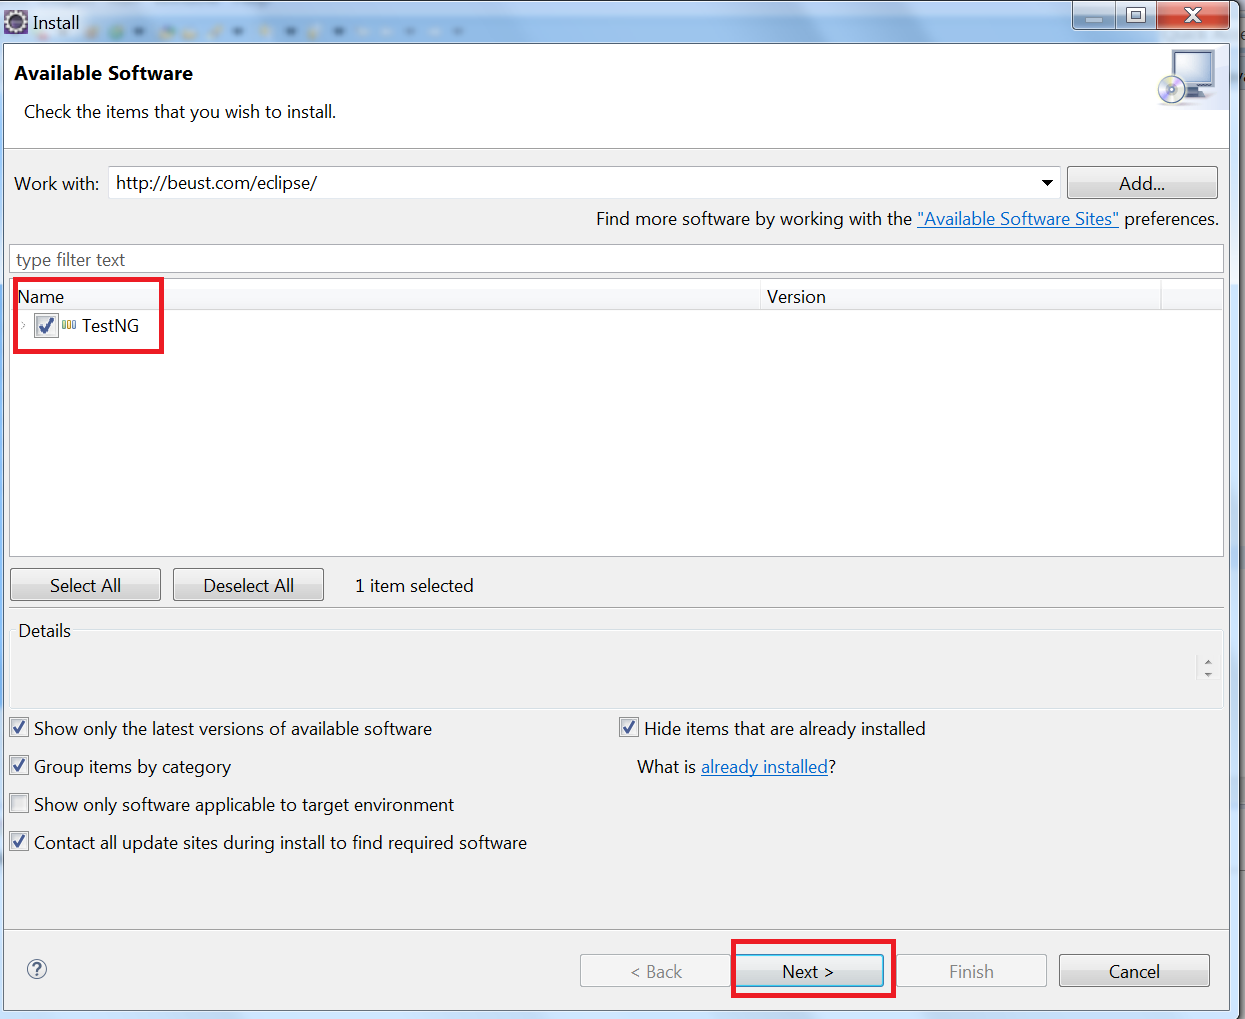
Step#2 In the ‘Work With’ Edit box, type the URL “http://beust.com/eclipse/”. You will get the option as ‘TestNg‘ with a Check box. (If you don’t get the options, hit enter once after setting the url as mentioned above).
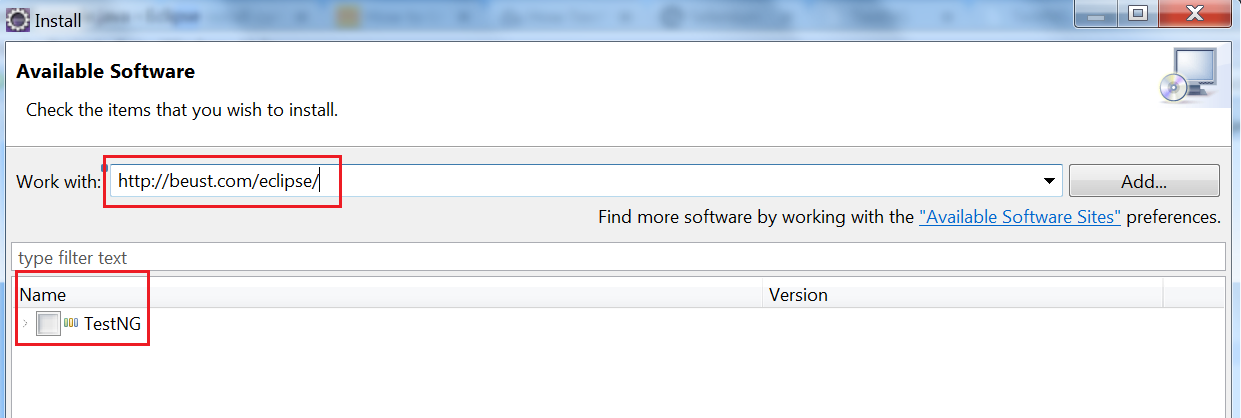
Step#3 Check the TestNg check box and click Next.
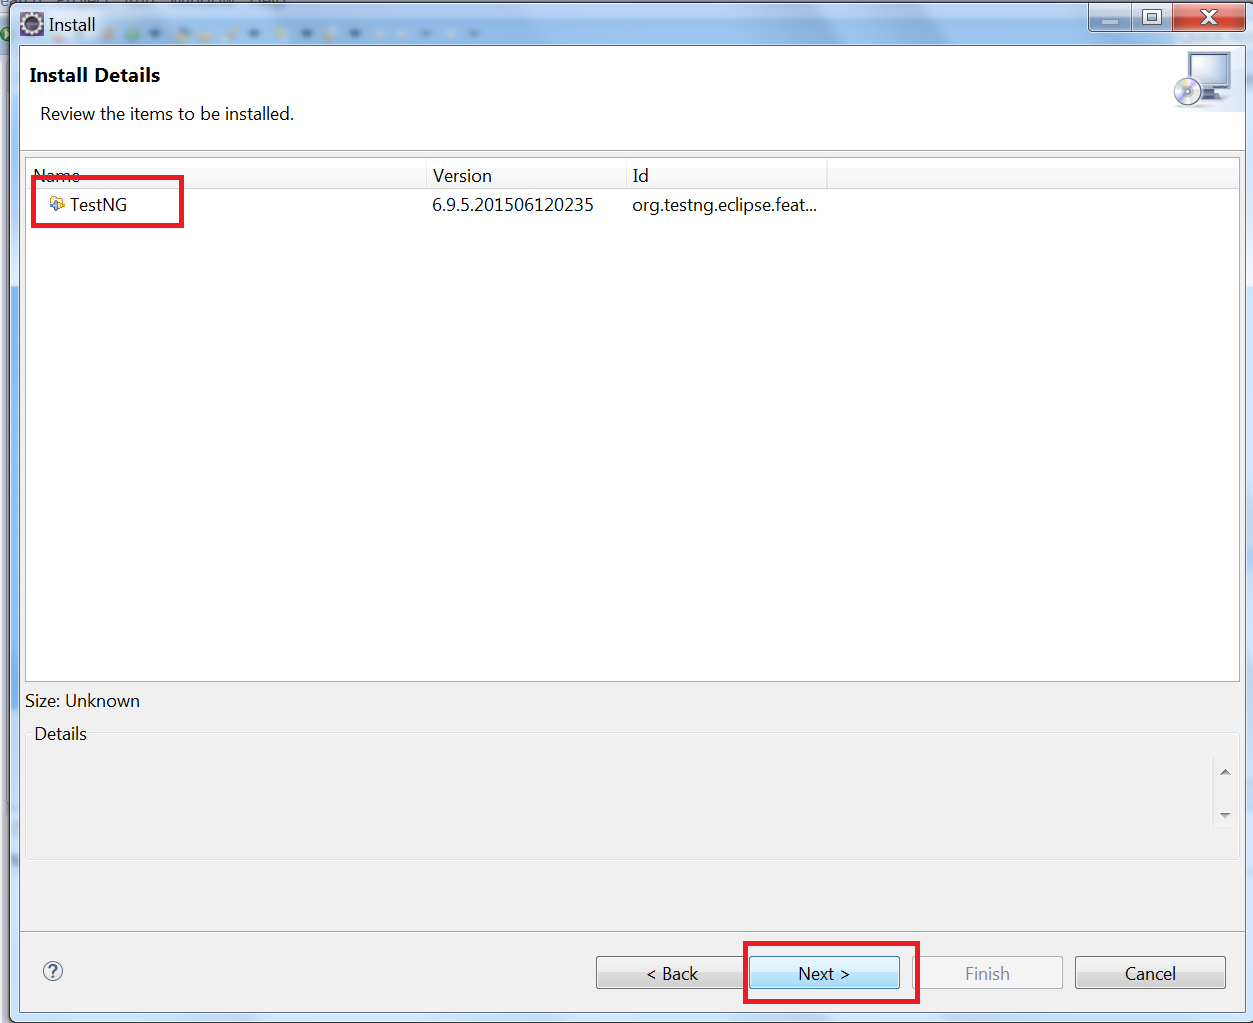
Step#4 It will take little time to install some required settings and give window as shown below. Click on Next again.
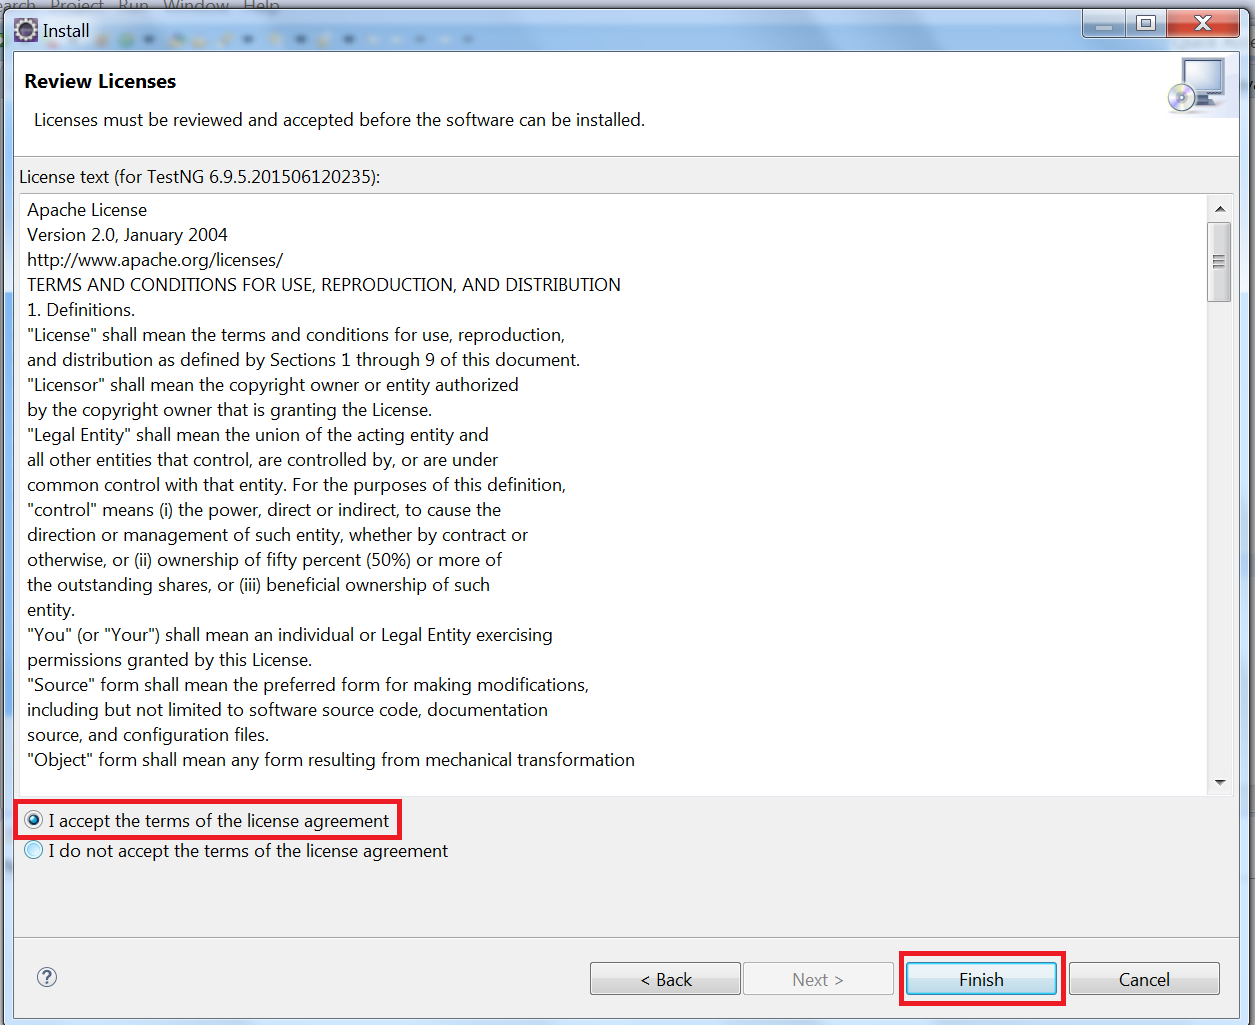
Step#5 Accept the agreement and click Finish.
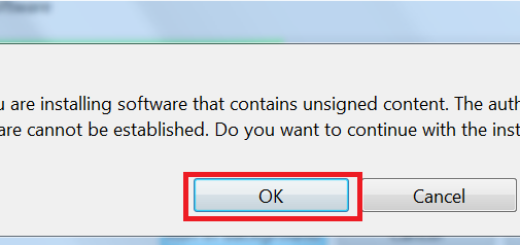
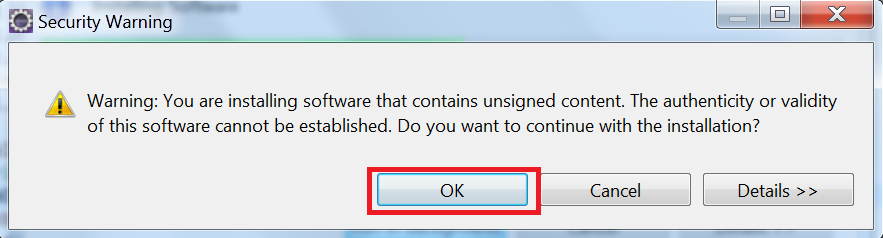
Step#6 It will install some files and given the below message with OK button. Click OK.
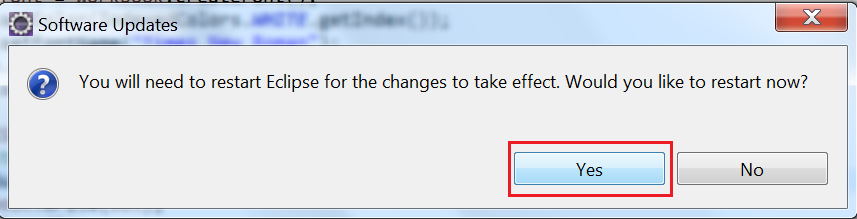
Step#7 It will be fully installed, but it will ask you to restart the eclipse to make the changes. Restart Eclipse.
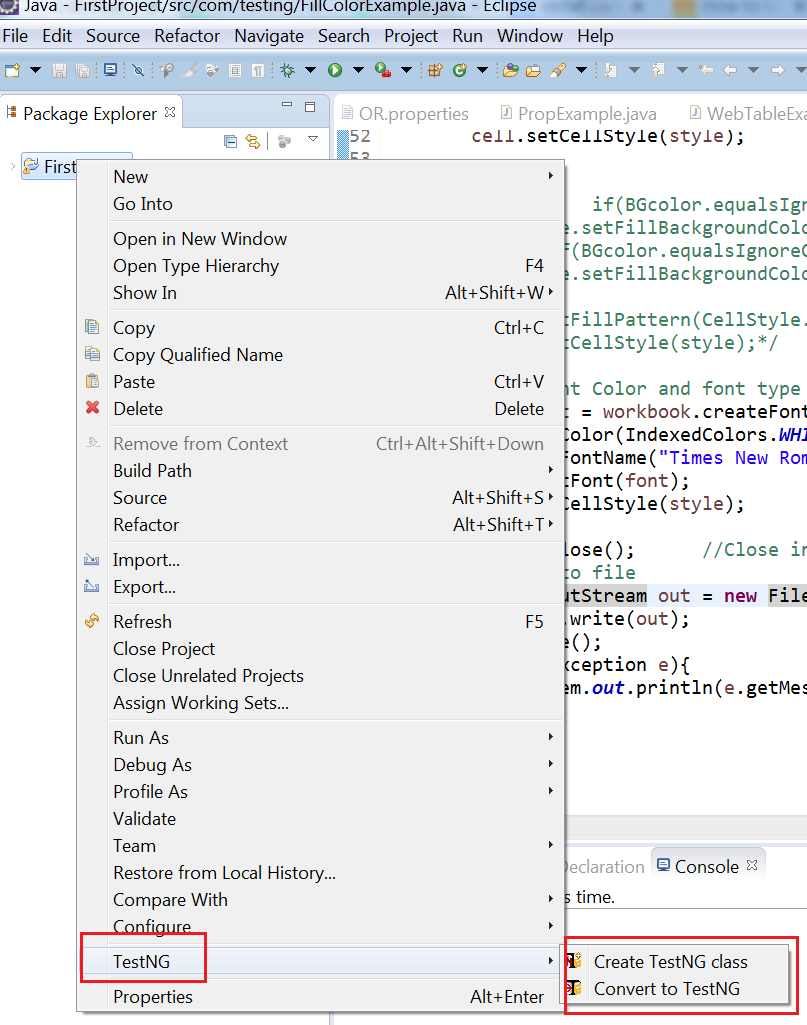
Step#8 After restarting eclipse, we need to verify that TestNG has been installed successfully. To check it, right click on any project. You will testNG options as shown below in the image.