Create a Maven Project and Import it into Eclipse
In the previous post, we have seen how to install Maven. In this post, we will create a Maven Project and Import it into Eclipse.
Create a Maven Project:
Step#1 Open the command window and go to the folder location where you want to create the Maven project. You can use cd command to navigate to another location in command window as shown below in the figure.
Step#2 Type the command mvn archetype:generate and hit enter.
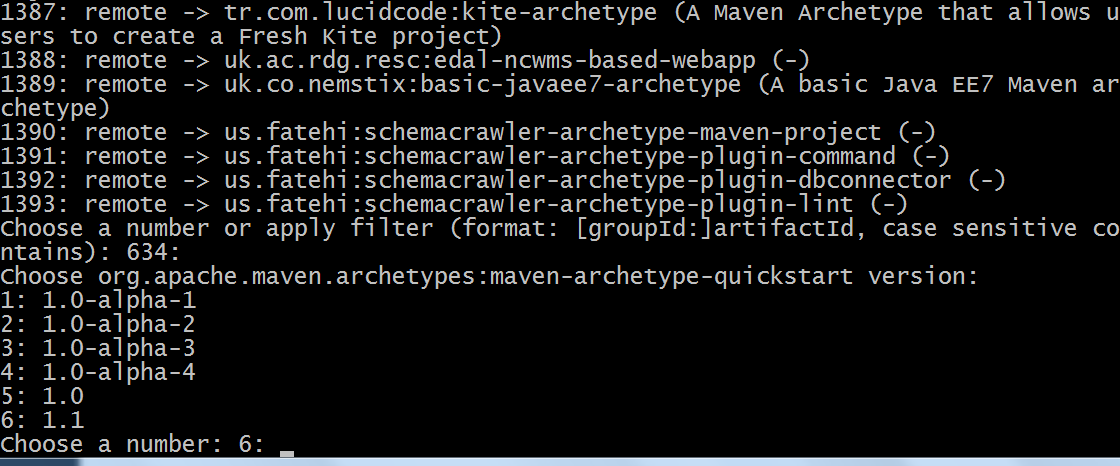
Step#3 Be patient , first time it will take some time as it needs to download some required files. Next, it will pause at a statement like “Choose a number or apply filter”. You can simply press Enter and let it proceed.
Step#4 Now, it will ask you to choose a number. Be the default one and hit enter. (Shown in the screen below).
Step#5 It will ask to you enter a groupid, which is nothing but a package name.You can give any name as per your need. We have given com.learningMaven. Hit Enter.
Step#6 It will ask you to enter artifactId, which is nothing but your project name.It is also user defined name. Give as per you requirement. We have given FirstMavenProject.
Step#7 It will ask to provide value for version and package. Simply, hit Enter both time.(as shown below).
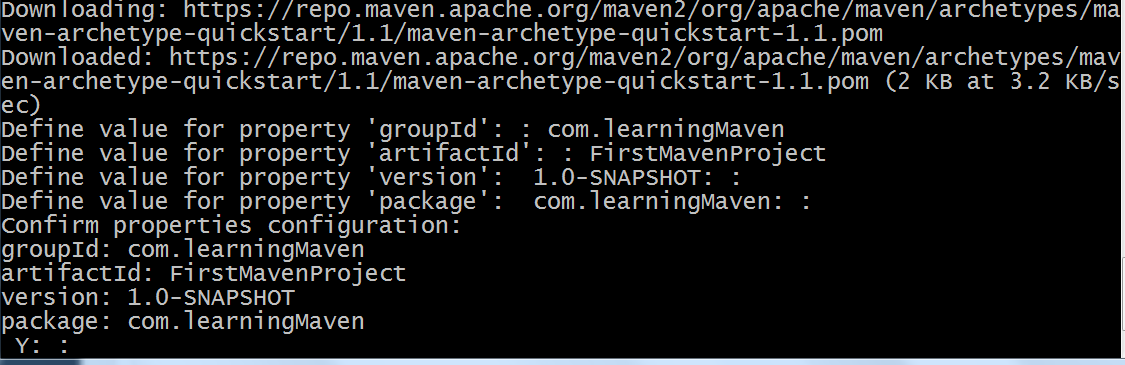
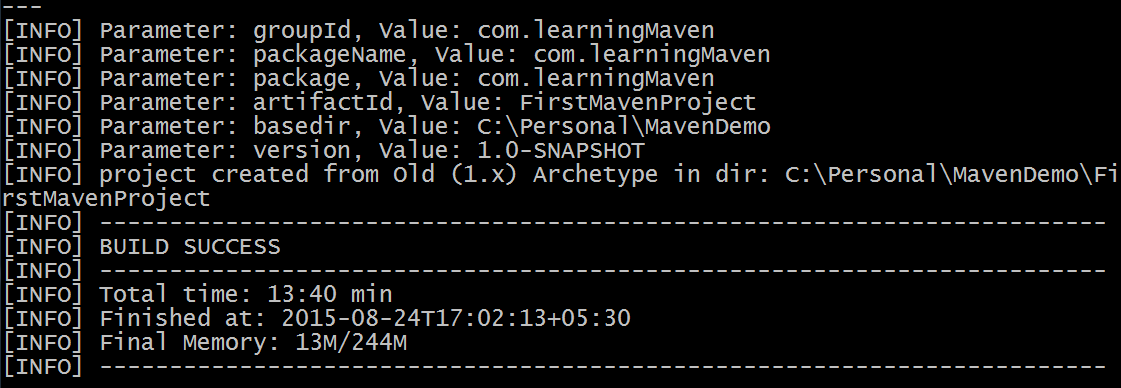
Step#8 It will ask for your confirmation and you need to enter ‘Y’ or ‘N’. Type Y and press Enter. You will get the Build success message.
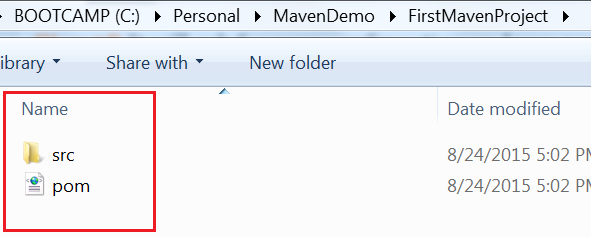
Step#9 Go to the project location. You will see there 2 files generated – src folder and POM.xml. POM.xml is the heart of Maven project. It is called Project Object Model. We will study about it in details in the next post.
Import Maven Project into Eclipse:
We have create Maven project, but still it is not compatible enough to import it to eclipse. We have to make it compatible first.
Step#1 Go inside you project folder where you can see POM.xml. Copy the folder path and navigate in command window to the same path.
Step#2 Type the command mvn eclipse:eclipse and press Enter.

Step#3 You will get Build Success message.
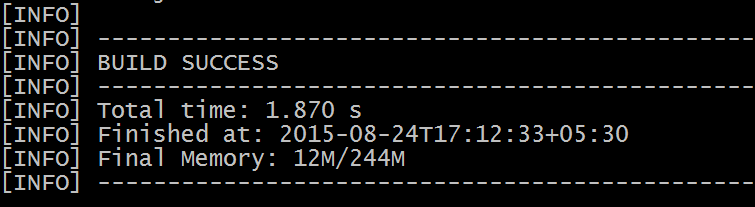
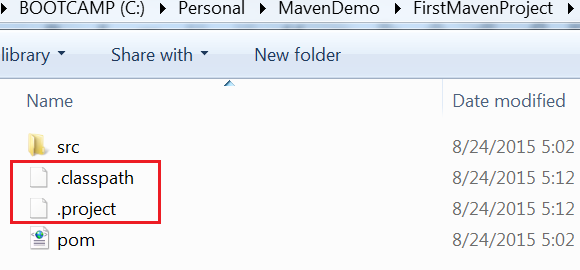
Step#4 Go to the Maven project folder path in the system and you will observe 2 more files there , .classpath and .project. It is the indication that project is ready not to import into eclipse.
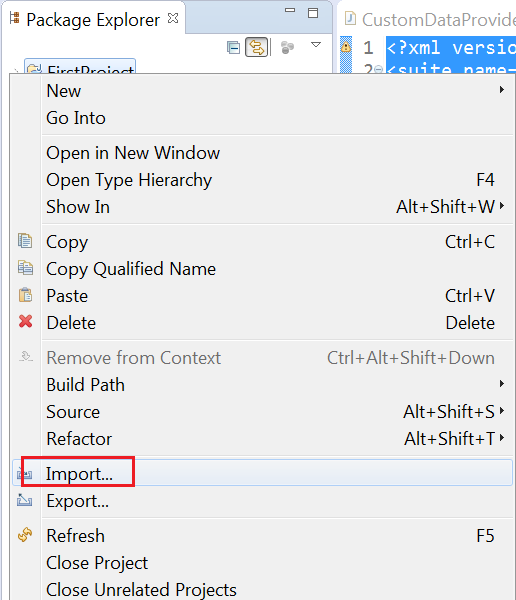
Step#5 Open Eclipse and right click in the project explorer. Click the option import as shown below.
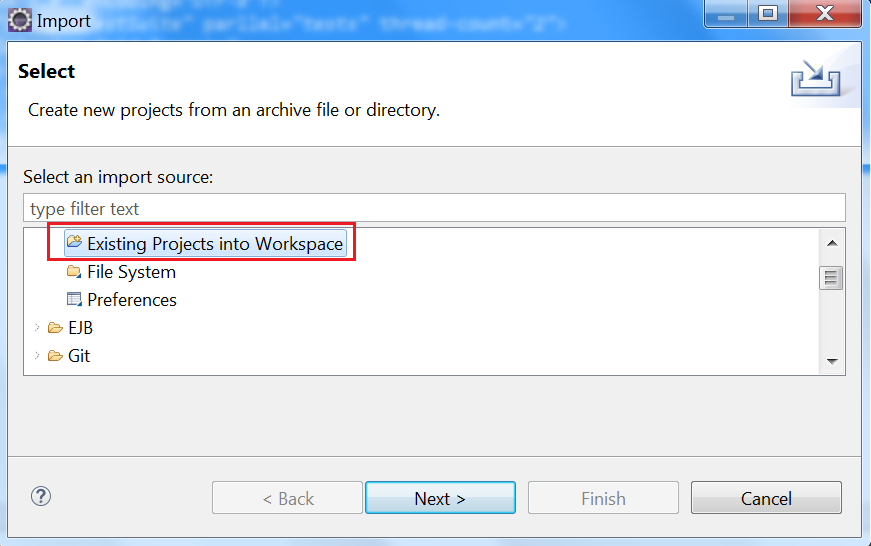
Step#6 A new window will open. Select the option “Existing project into workspace” and click next.
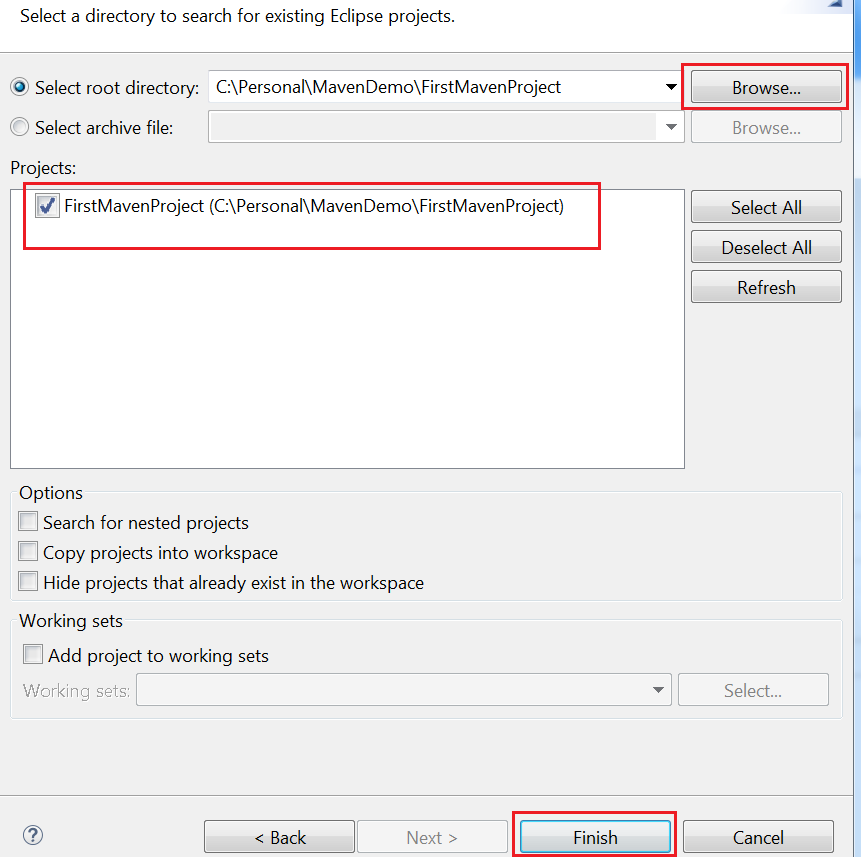
Step#7 In the next window, browse to the root directory and select you project. After selecting click on finish button.
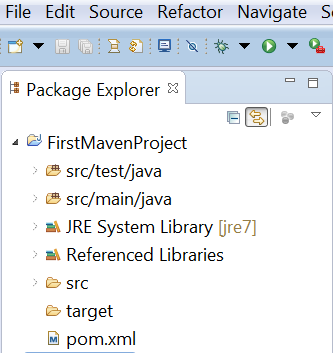
Step#8 Project should be imported to eclipse and you should be able to see the below folder structure. That is it. In next post, we will learn about POM.xml in Maven.