Configure node by using JSON file
In the previous post, we have seen how to configure hub and nodes. In this post, we will see how to configure node by using JSON file.
We can mention all the configuration details into the JSON file and then start Hub or node by entering the commands in cmd window. Let’s understand this step by step.
Starting Hub:
For starting hub, we will use the below JSON file. Copy the below code and store it with some name but with the extension json.
{
  "host": null,
  "port": 4444,
  "newSessionWaitTimeout": -1,
  "servlets" : [],
  "prioritizer": null,
  "capabilityMatcher":   "org.openqa.grid.internal.utils.DefaultCapabilityMatcher",
  "throwOnCapabilityNotPresent": true,
  "nodePolling": 5000,
  "cleanUpCycle": 5000,
  "timeout": 300000,
  "maxSession": 5

}
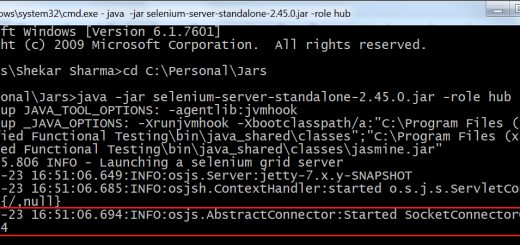
Use the below command where we will given the hub_config.json file.
The Hub should start at the port no. 4444.
Starting node by using JSON file:
We have created one more JSON file containing the node capabilities and configuration details. Copy the below code and save into a file with the extension Json.
{
  "capabilities":
      [
        {
          "browserName": "*firefox",
          "maxInstances": 5,
          "seleniumProtocol": "Selenium"
        },
        {
          "browserName": "*googlechrome",
          "maxInstances": 5,
          "seleniumProtocol": "Selenium"
        },
        {
          "browserName": "*iexplore",
          "maxInstances": 1,
          "seleniumProtocol": "Selenium"
        },
        {
          "browserName": "firefox",
          "maxInstances": 5,
          "seleniumProtocol": "WebDriver"
        },
        {
          "browserName": "chrome",
          "maxInstances": 5,
          "seleniumProtocol": "WebDriver"
        },
        {
          "browserName": "internet explorer",
          "maxInstances": 1,
          "seleniumProtocol": "WebDriver"
        }
      ],
  "configuration":
  {
    "proxy": "org.openqa.grid.selenium.proxy.DefaultRemoteProxy",
    "maxSession": 5,
    "port": 5556,
    "host": 192.168.1.2,
    "register": true,
    "registerCycle": 5000,
    "hubPort": 4444,
    "hubHost": 192.168.1.2
  }
}
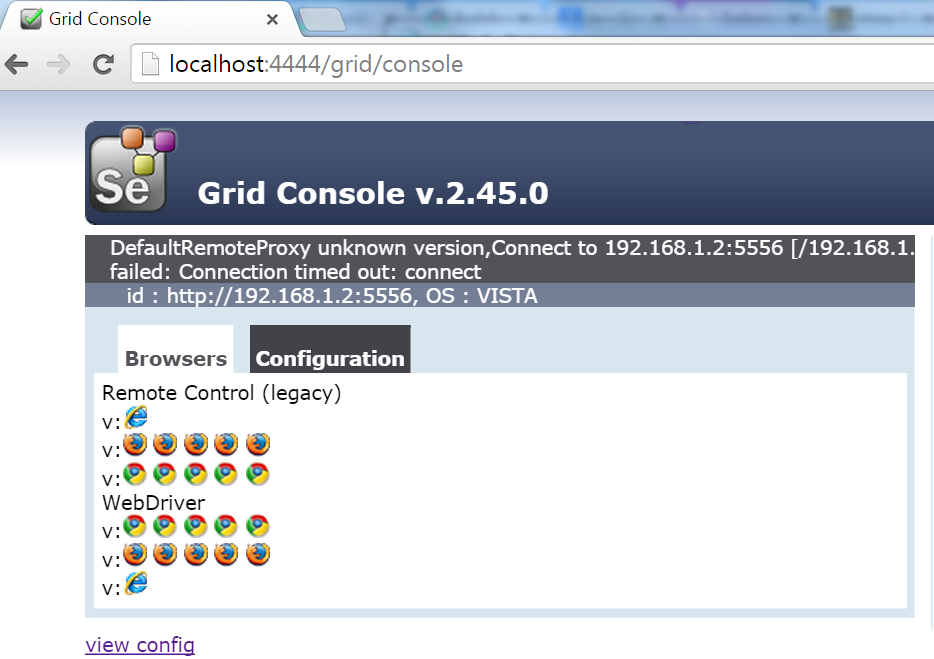
Open a new command window and use the below command to start the node by using node_1.Json file.
To verify if node has started successfully , go to http://localhost:4444/grid/console. You should be able to see the below window.
In the next post, we will see how to write a program to distribute test cases on nodes.