Building a Test Suite in TestNG
In the previous post, we have learnt how to write a program in TestNG. In this post, we will see what is a TestSuite and its usage in TestNG.
What is a Test Suite?
In any project, you will have a bunch of test cases. In the previous post, we have seen how to execute a single program. What is , we need to execute the whole bunch of test cases altogether in TestNG. This will be possible by building a Test Suite in TestNG. Or in other words, you can say Test Suite is a XML file that includes the set of test cases which need to be executed.
TestNG provide a way to manage test execution. Those test cases may be dependent on each other or follow a certain execution order. You will create one testng.xml file to include all the test classes, packages, methods, parameters if required etc. (A pictorial presentation is given below having the attributes in Test Suite.)

A basic structure of a testng.xml file:
This basic testng.xml given below contains the classes and its packages.
<suite name="Any user defined name" >
  <test name="Any user defined name">
    <classes>
      <class name="PackageName.ClassName"/>
       <class name="PackageName.ClassName"/>
    </classes>
  </test>
</suite>
Let’s understand step by step working of Test Suite:
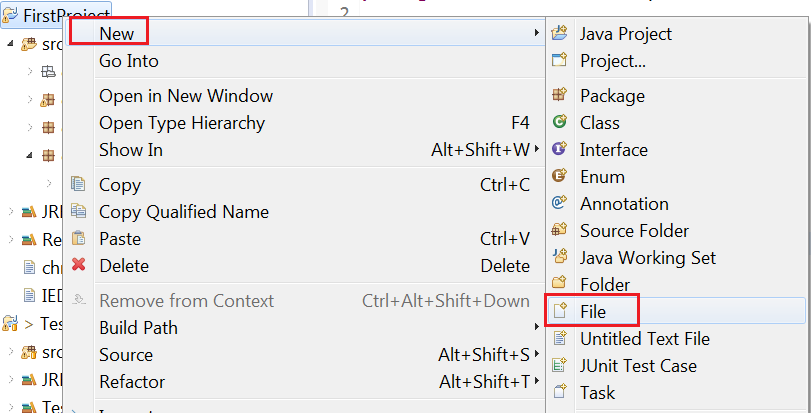
Step#1 Right click on the project folder –> New –> File.
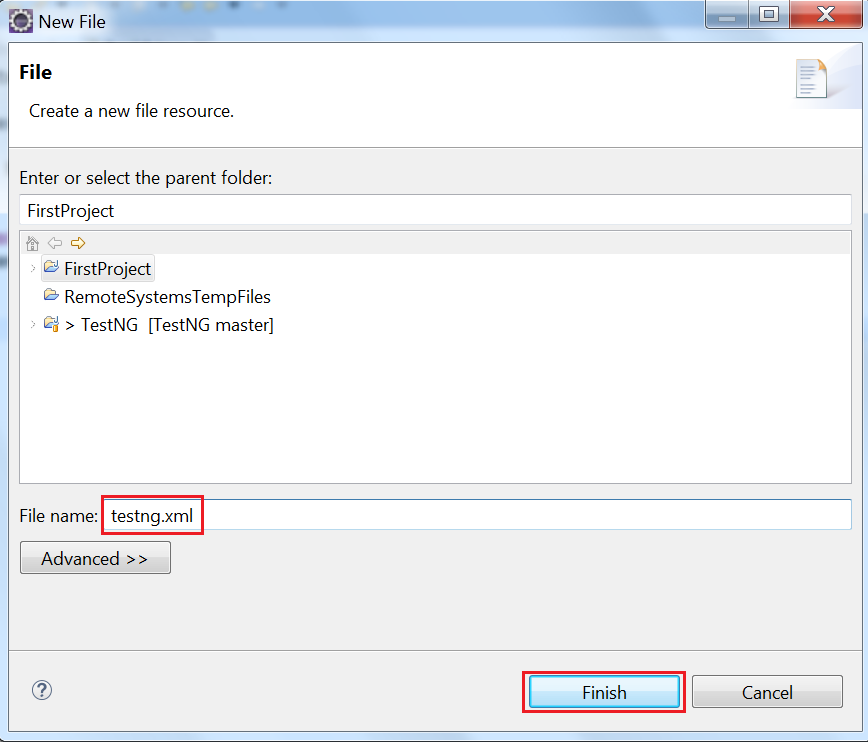
Step#2 A new window will open , give the name as testng.xml and click finish.
Step#3 It will create a new file where you can add classes that need to be executed. Suppose, we need to add the class as shown below in the figure.
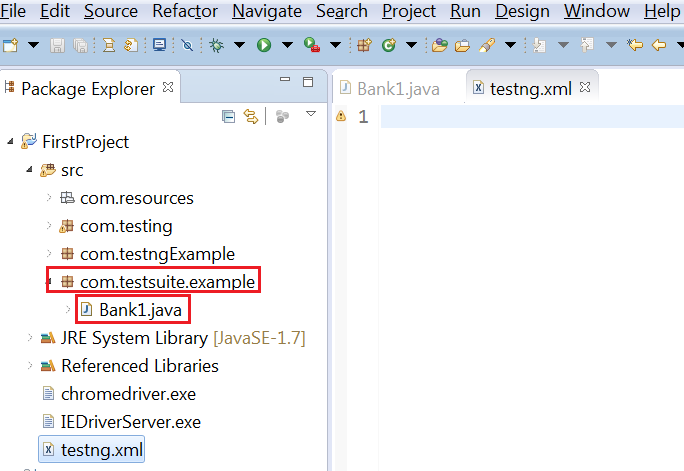
Step#4 Add the class into testng.xml (Test Suite).
<suite name="ExampleTestSuite" >
  <test name="Bank functionality">
    <classes>
      <class name="com.testsuite.example.Bank1"/>
    </classes>
  </test>
</suite>
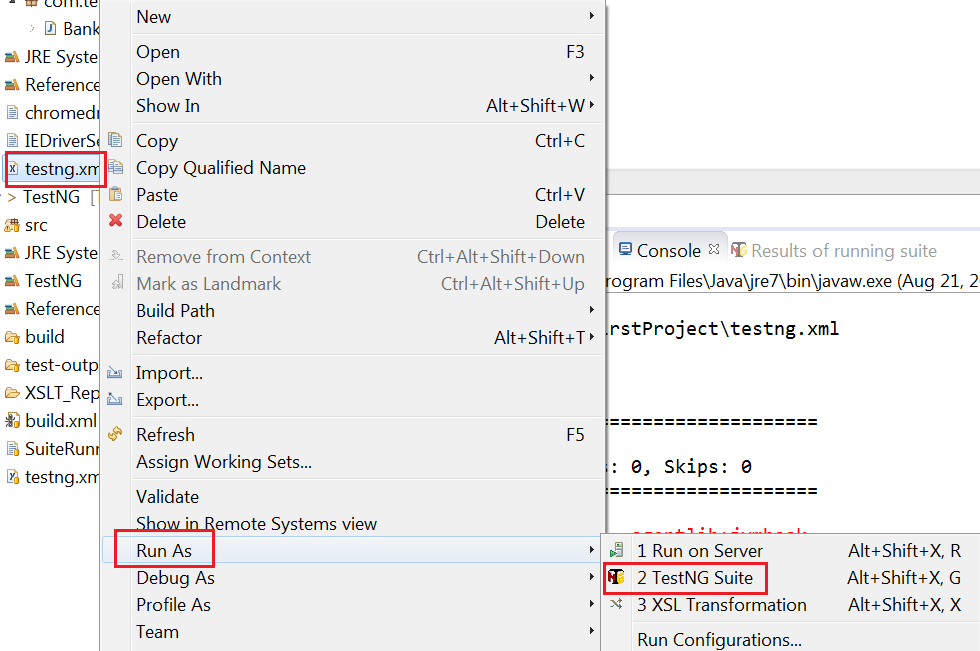
step#5 To run the Test Suite , right click on testng.xml –> Run As –> TestNG Suite.
The class that is included in Test Suite.
public class Bank1 {

	@Test
	public void HDFCBank(){
		System.out.println("This is HDFC bank");
	}
}
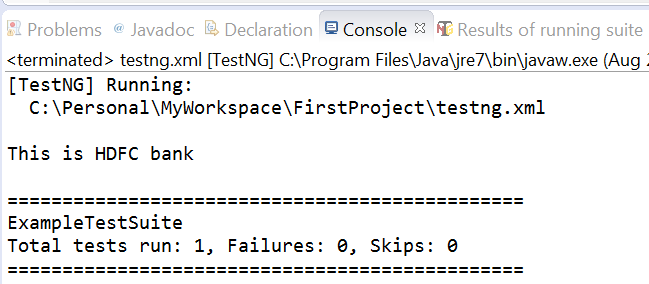
Step#6 After running test suite, Test class will be executed and you will get the below output.
In console:
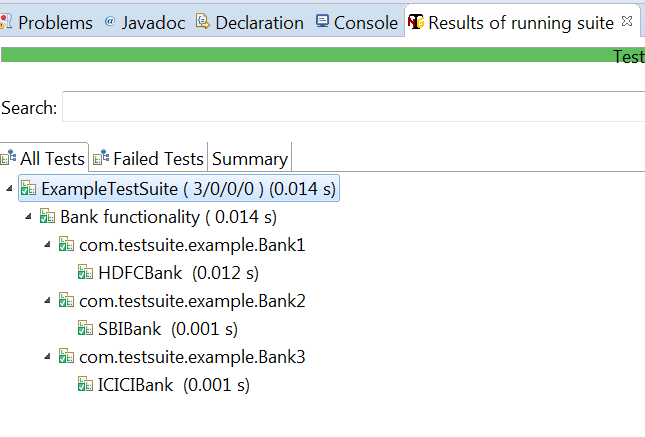
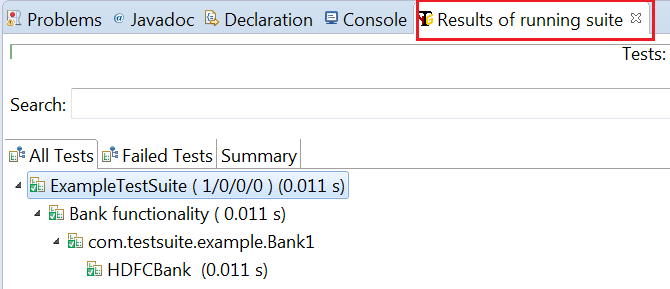
Result of running Suite:
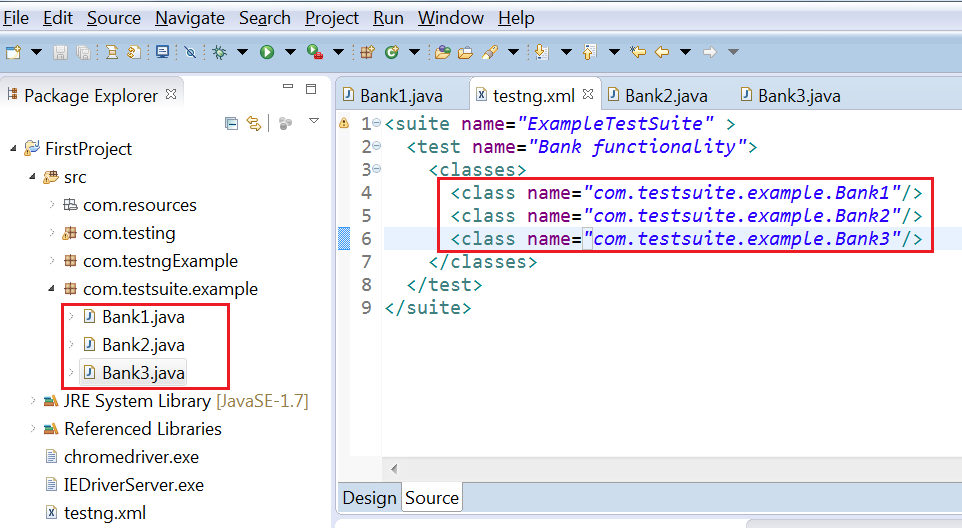
Building a Test Suite in TestNG including multiple classes:
Suppose, we have multiple Test classes. We can add those classes to the Test Suite as shown in the figure below.
After running the whole suite , you will see the following output.